- Posted On April 12, 2018
- No Comment
The next big upgrade concerns the evacuation of warm air from the front mounted oil cooler. Previous owners had made a cowling but since I upgraded to a larger Setrab oil cooler it no longer fit and I didnt like that it took up soo much space with ventilation hoses going to holes leading into the front wheel arches.
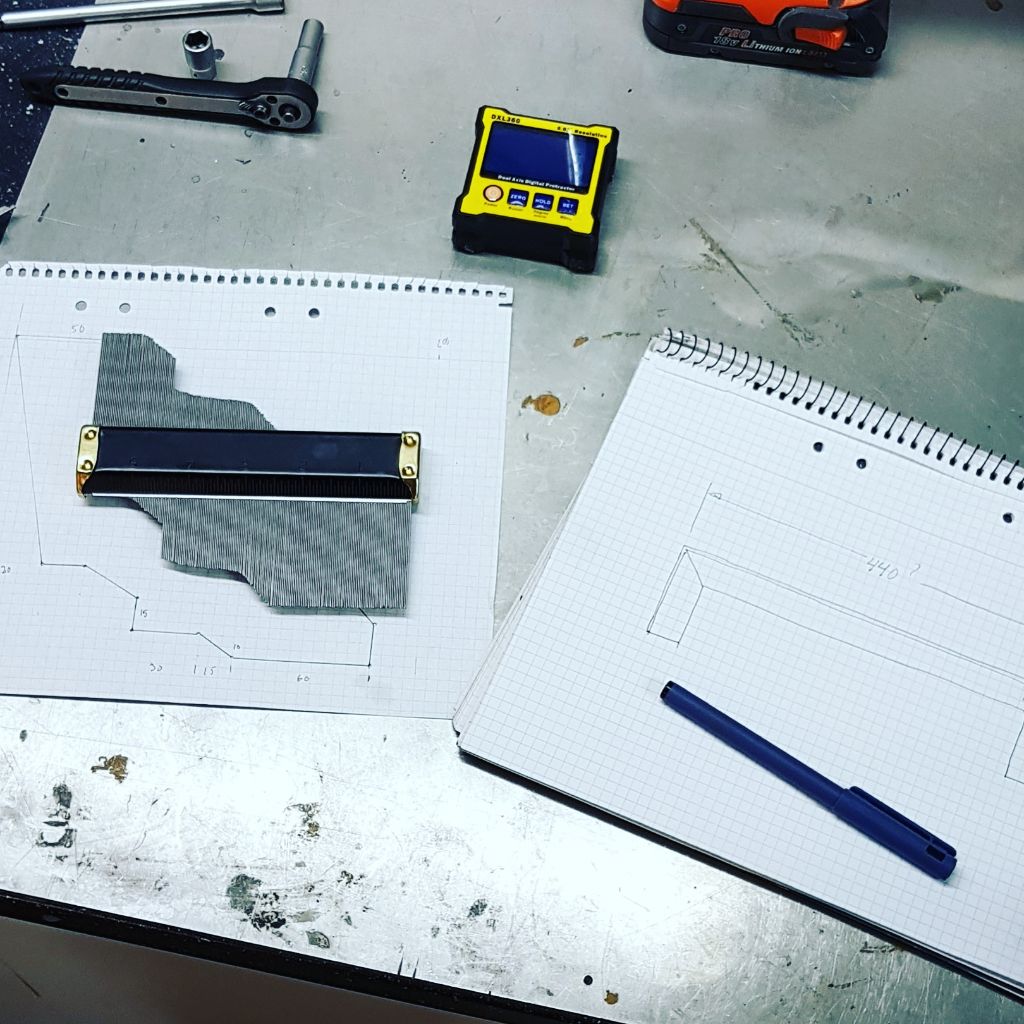
So, the plan is to send the air down under the car, so break out the paper, rulers and tape measures to start getting some numbers down.
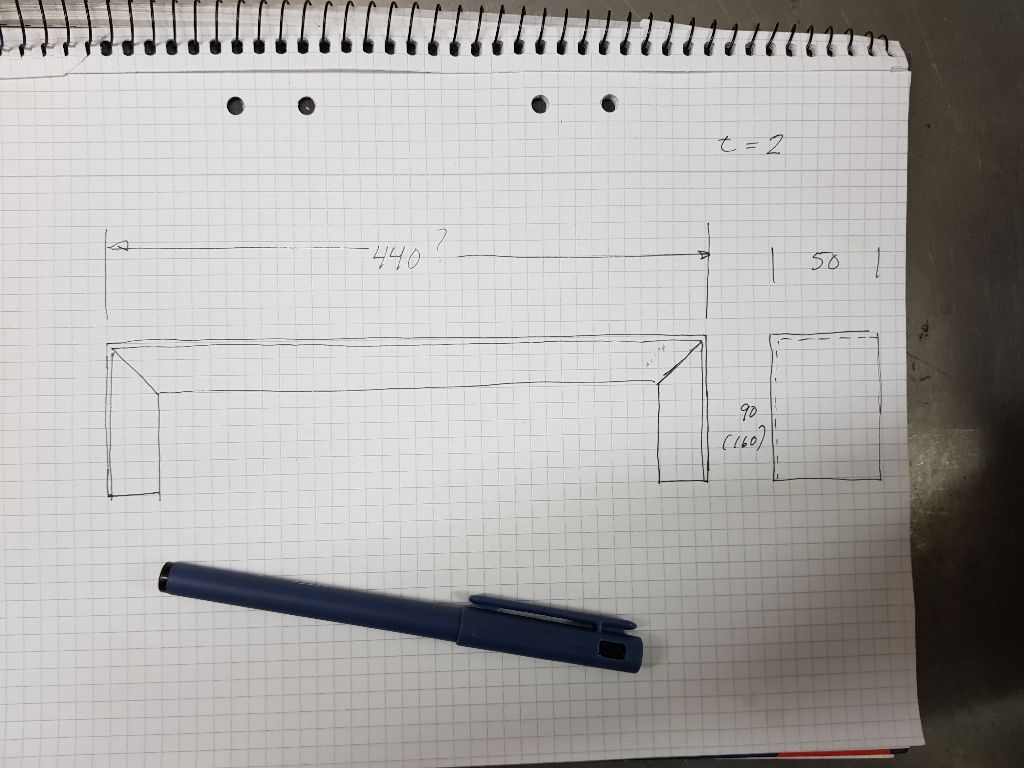
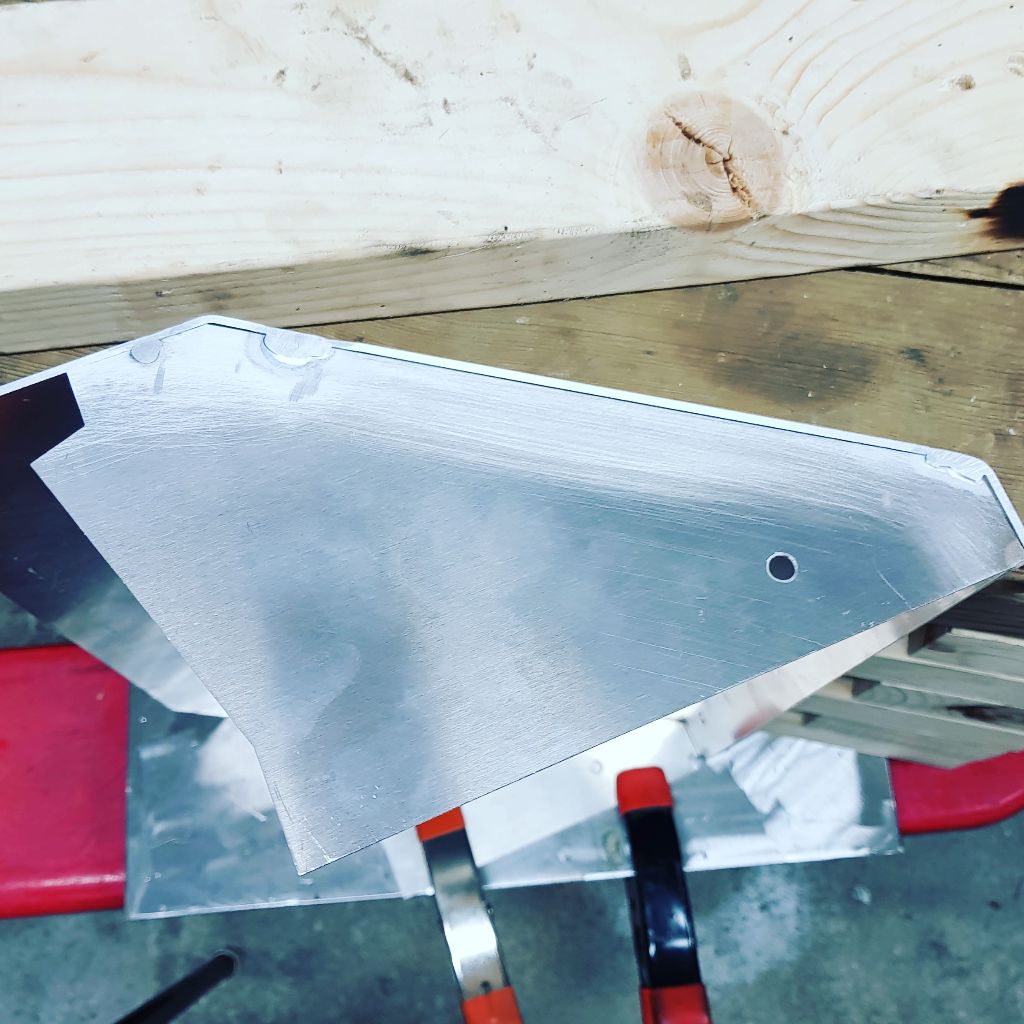
Getting the basic shape of the bottom end piece down.
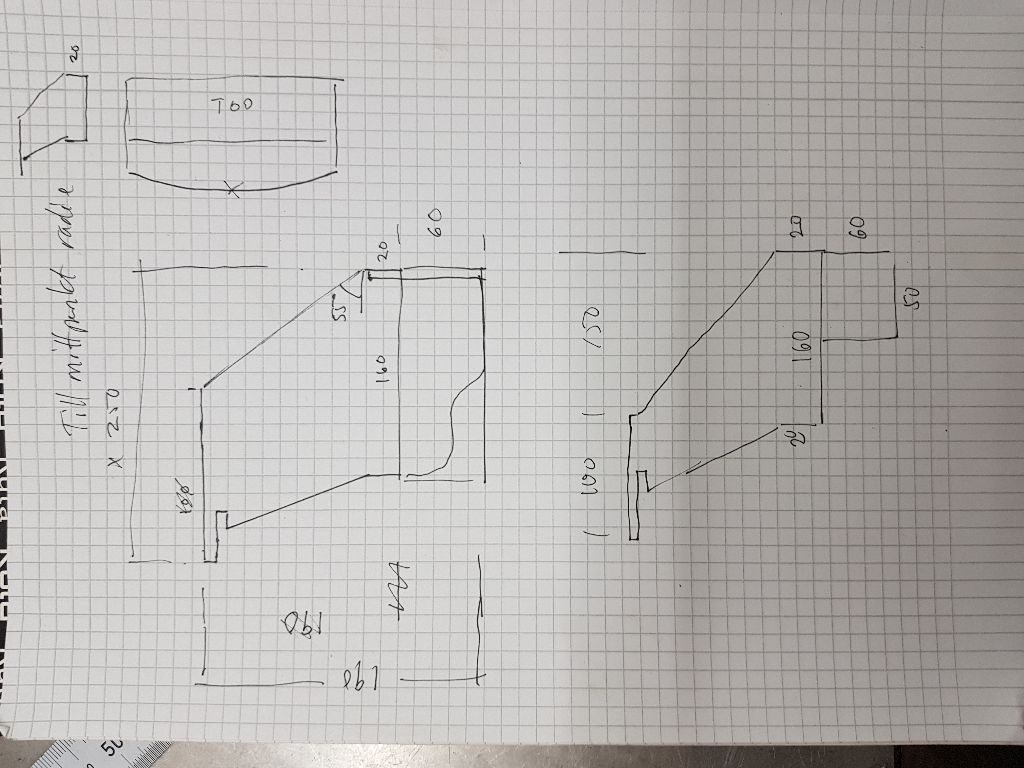
The side/top piece was much tricker and I think I went thru 4 or 5 versions before getting something I liked,
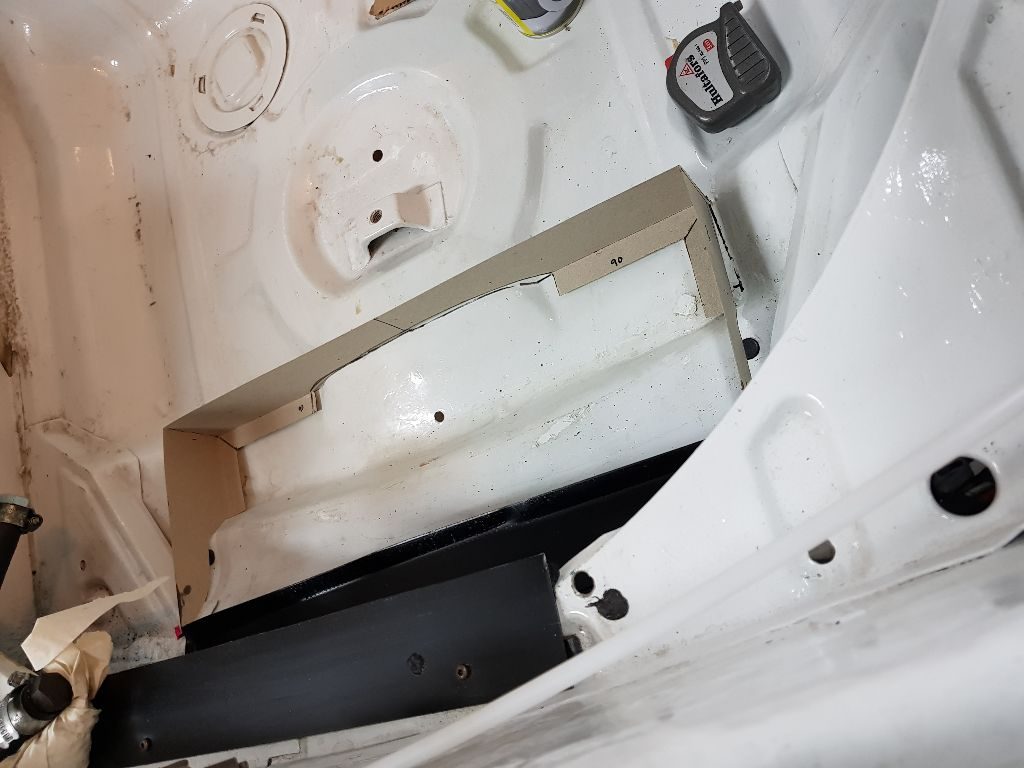
Paper templates are your friend, make lots of them!
When you are happy with the paper templates just dip them into liquid aluminium, one dip adds 1 mm of thickness so I dipped mine twice. Turned out perfect. The M5 threaded nutserts has to be added manually though.
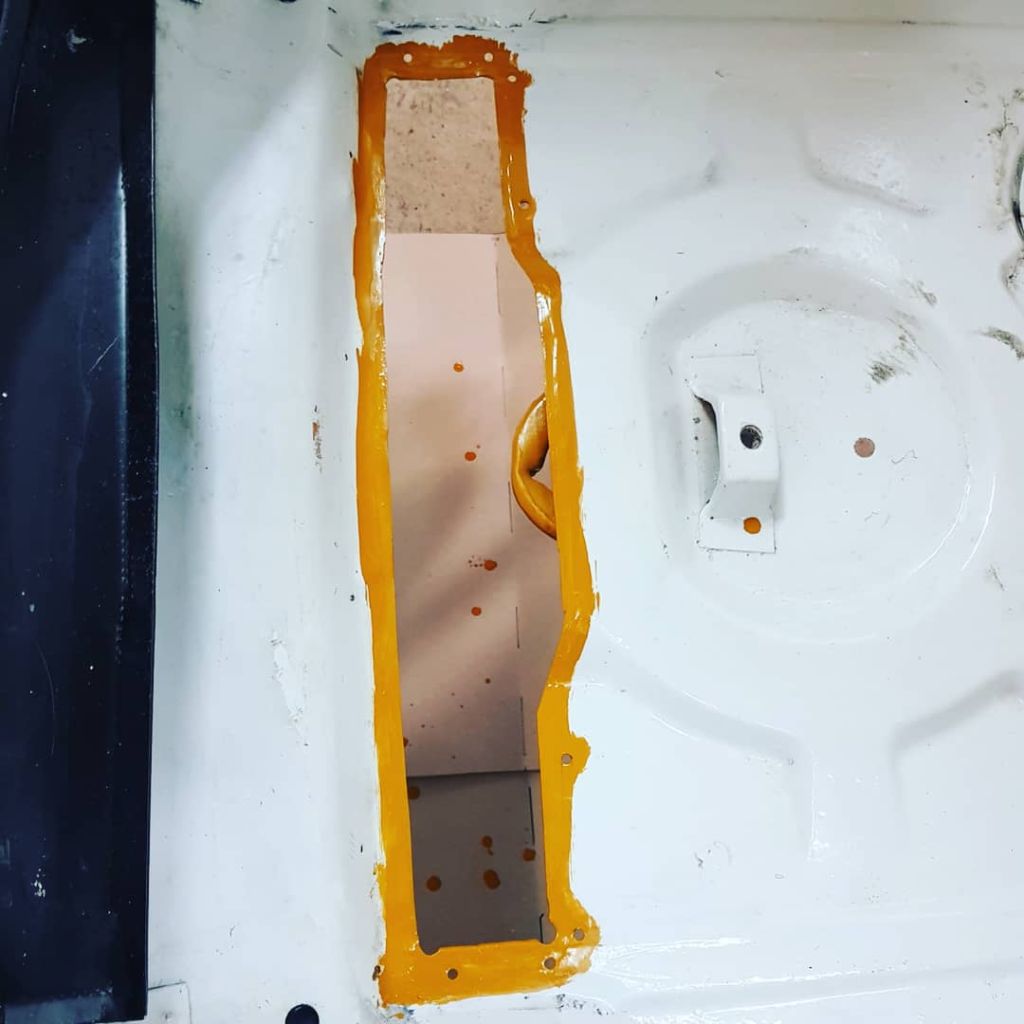
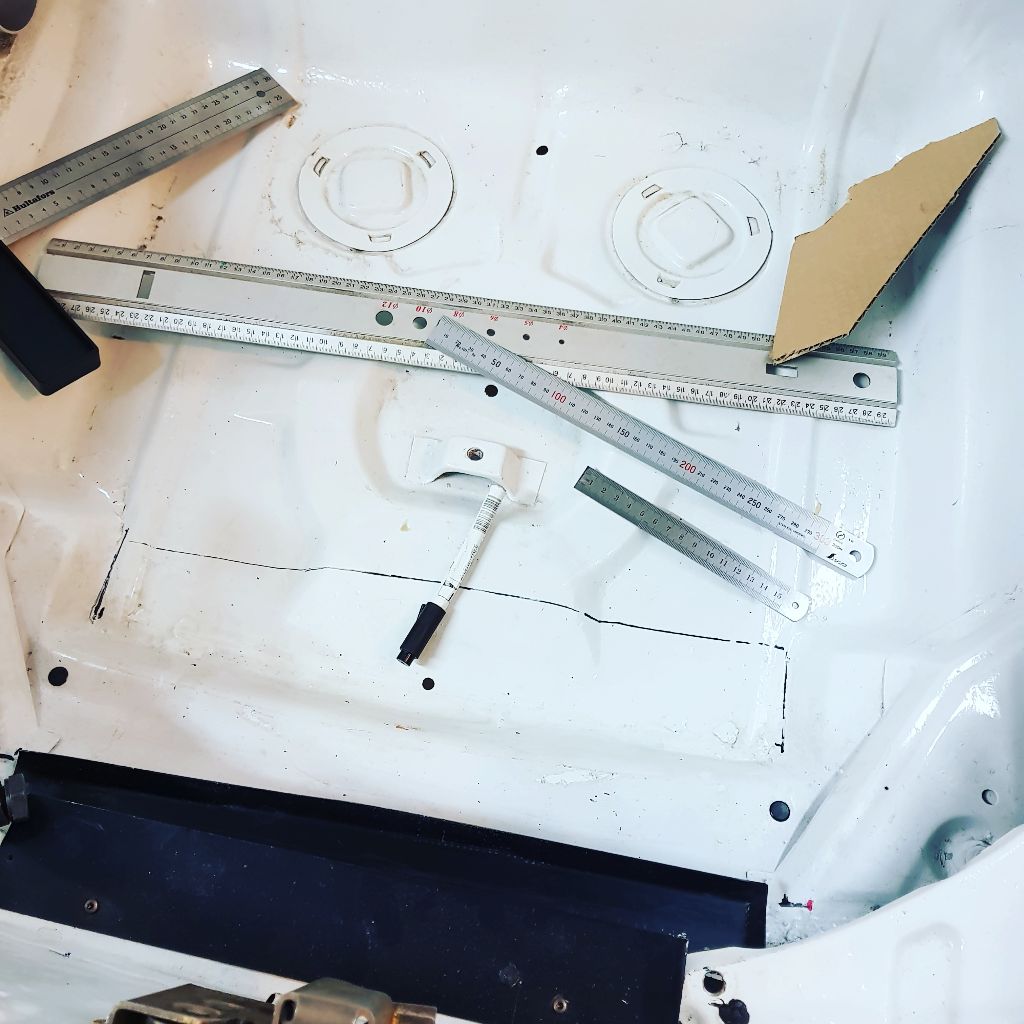
With the bottom piece done, it was time to measure about 73 times before breaking out the angle grinder and take a deep breath before slicing into the trunk floor! I ground the old paint off about 10 mm around the hole on both top and bottom side and then put on two layers of epoxy primer. Mmmm, mustard yellow.
Followed with two coats of white topcoat.
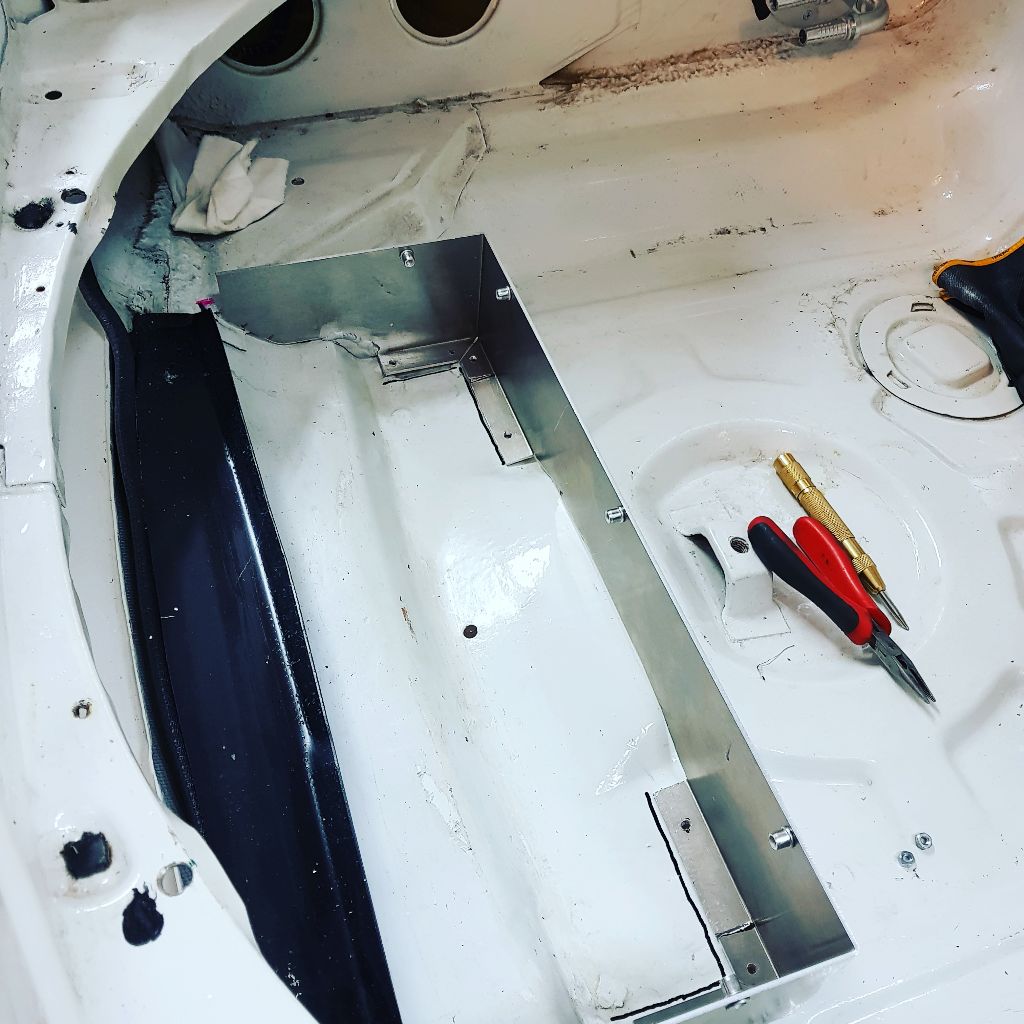
Bottom piece was sealed with some cloed foam selfadhesive strips and installed, the flanged design really stiffened up the trunk floor edges.
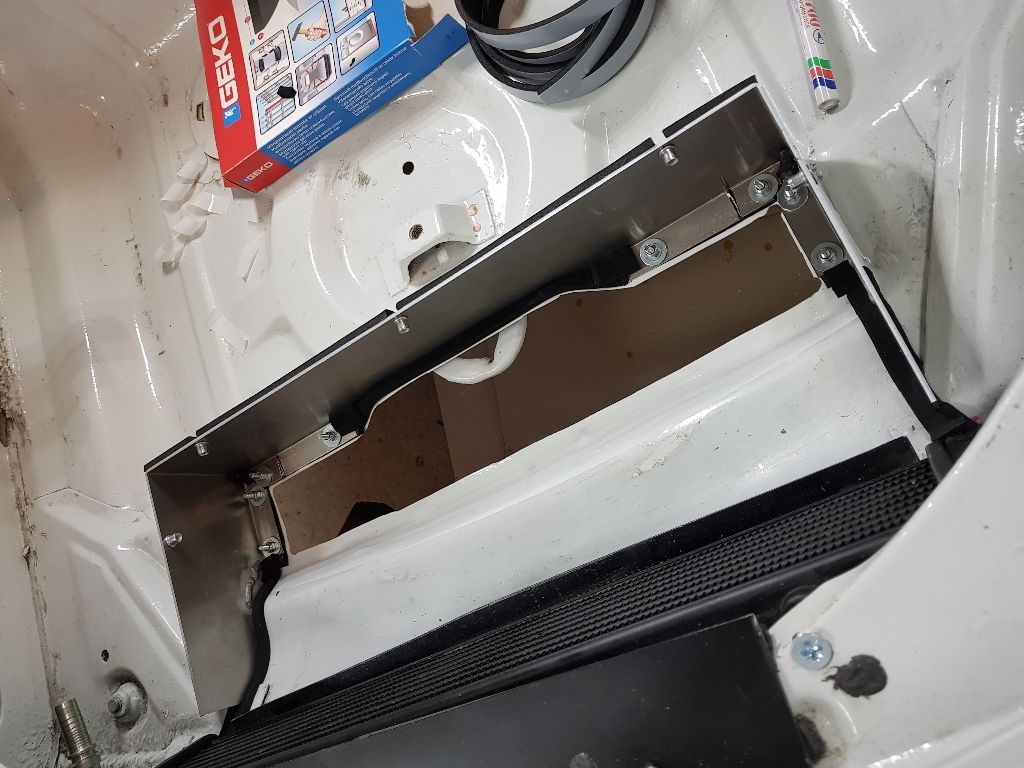
Time for the top piece, side parts and top plate tacked together for trial fitting and a few adjustments before final welding.
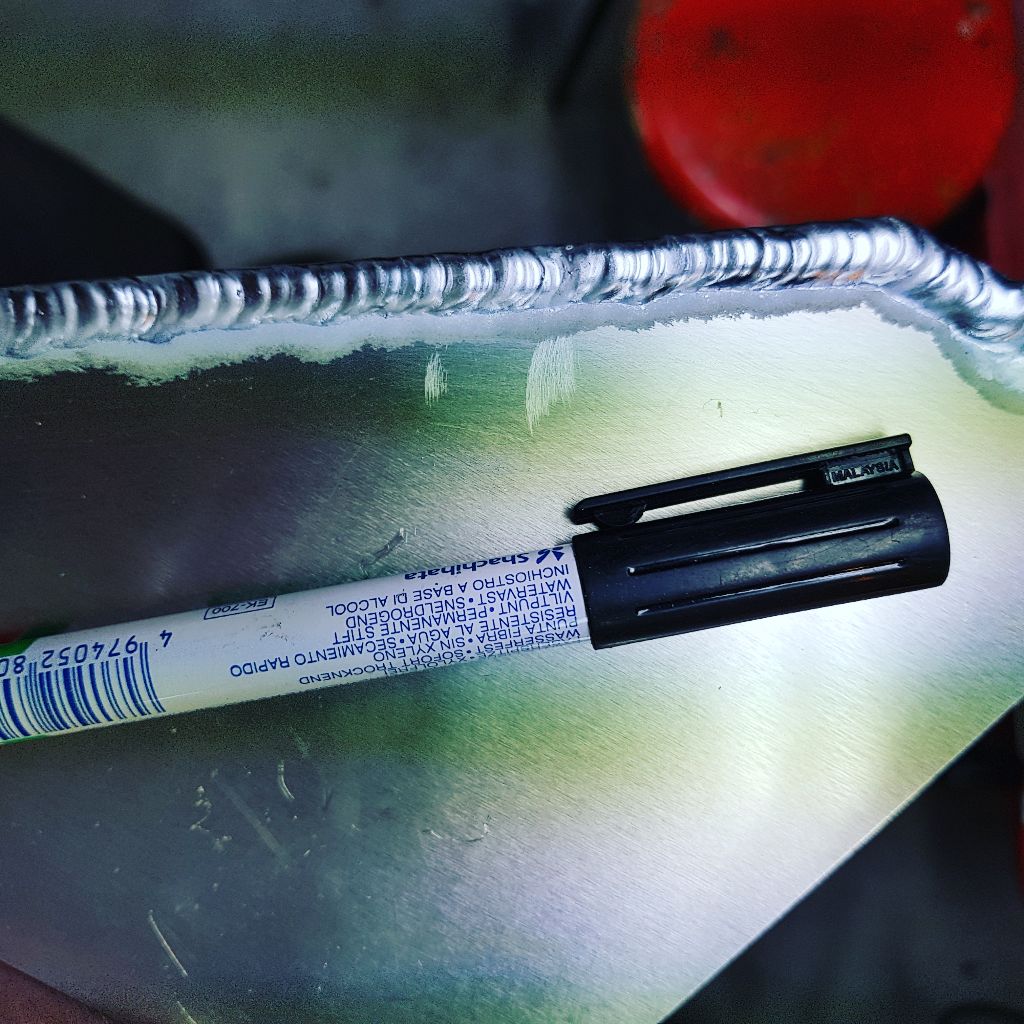
Decent, but I’m not quitting my day job to become a welder…
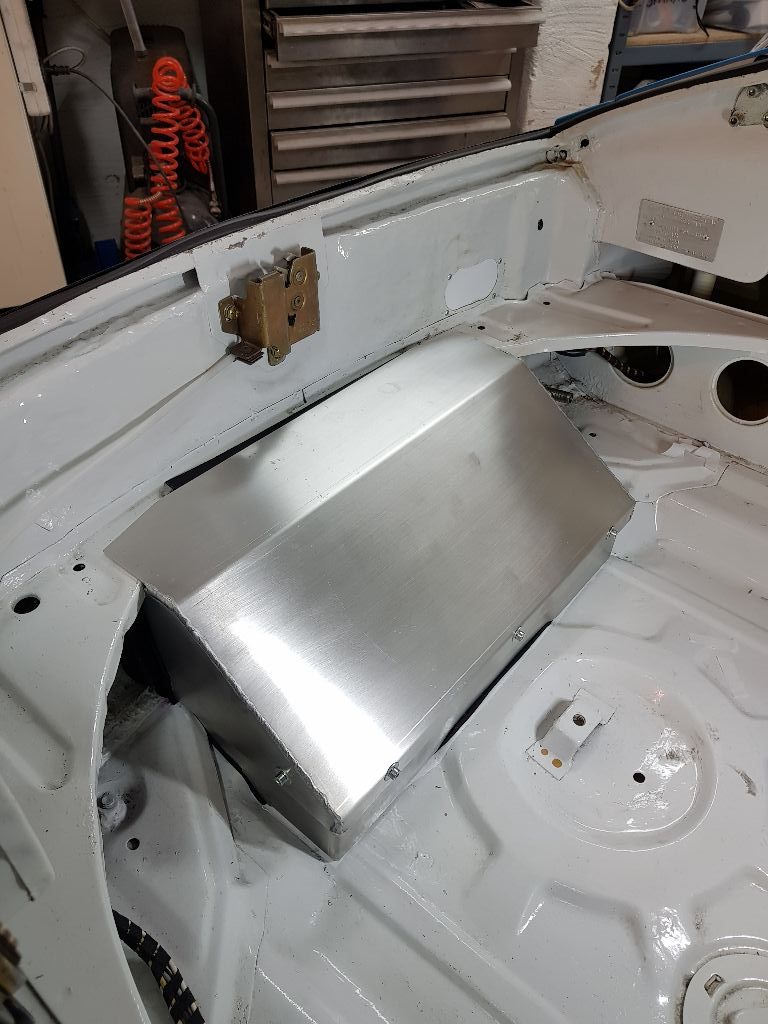
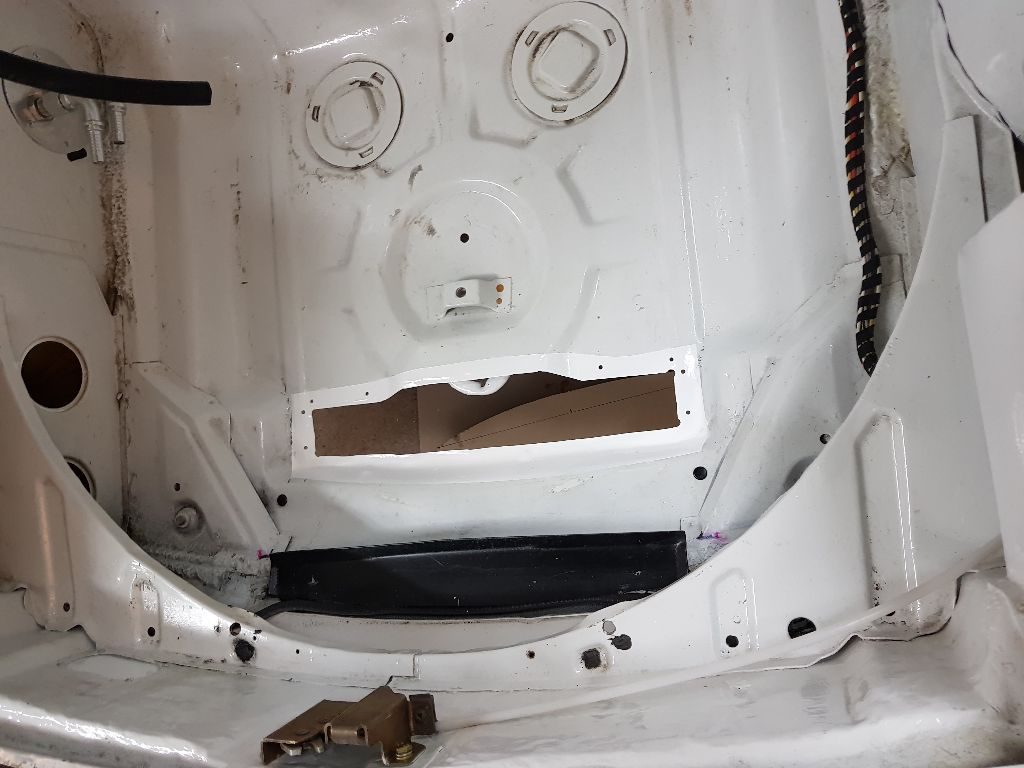
Top piece in place, fit perfectly thanks to the miracles of 3D cad and luck.
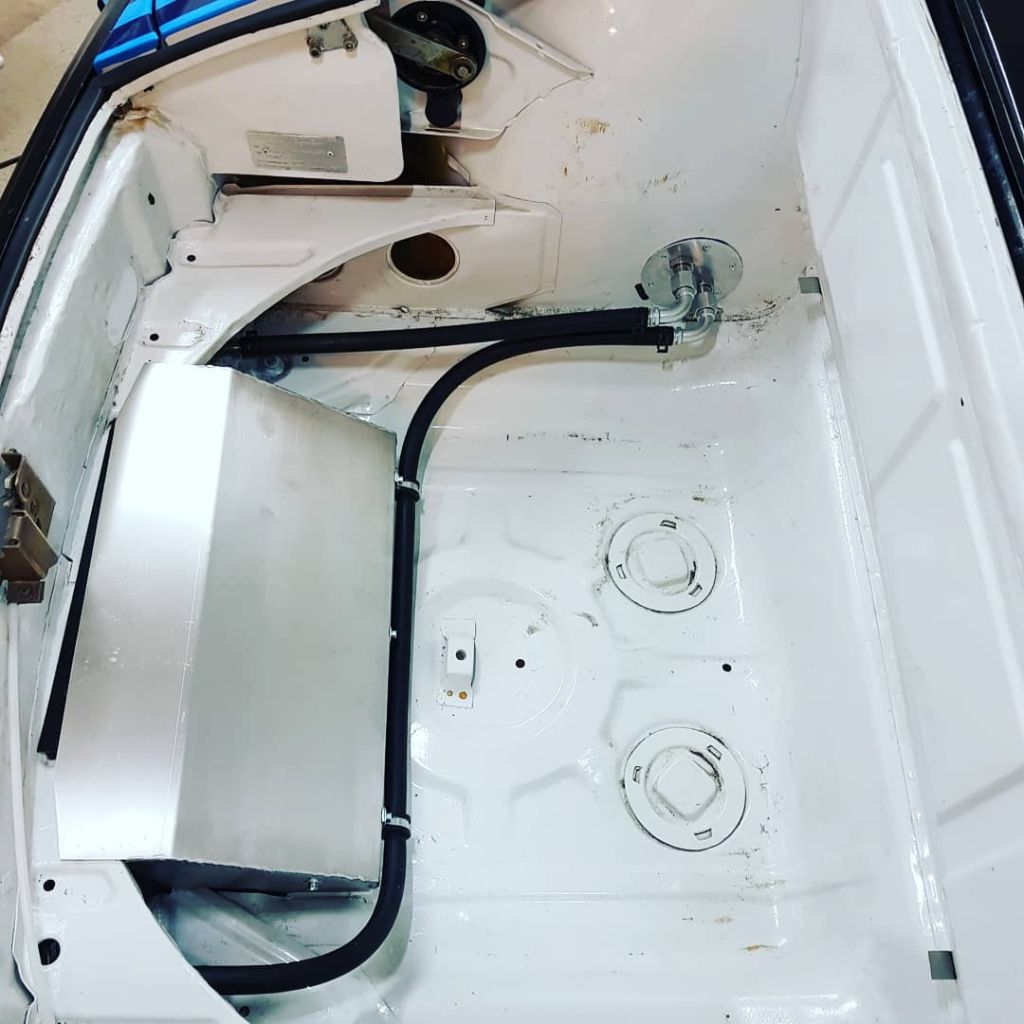
New oil hoses installed.

and heres how it looks from the wheelhousing side.